How to Grow Sunflower Greens (Step-byStep)
Need a good reason to try your hand at growing your own sunflower greens??? How about 11 good reasons. Read this article I've pasted below, to discover their amazing benefits and qualities.
by Christina Sarich, posted on http://naturalsociety.com/11-reasons-grow-eat-sunflower-greens/#ixzz2fLfU63eyIn just seven days after planting sunflower seeds, you can munch on some of the most beneficial micro-greens around. Sunflowers offer incredible health benefits, and you can eat many parts of the plant. Finding fresh sunflower sprouts is very difficult, but it is so simple to grow your own. You can also allow a few of the plants to grow into mature sunflowers which will then yield thousands of new seeds for you to grow again – an entirely sustainable way to feed your body and mind.
Here are 11 reasons to grow your own organic sunflowers:
- 1. Sunflower greens offer one of the most balanced forms of a complete plant protein around. They provide all the essential amino acids and help to repair muscle tissue while supporting the enzymes of the body to do their jobs as well.
- 2. Sprouted sunflower greens, known as microgreens, also contain up to 100 times the enzymes of regular, full-grown greens. This means your body can more easily assimilate important phytonutrients, vitamins and minerals.
- 3. Sunflower greens are full of folate (folic acid), and B complex, vital nutrients for pregnant women and a developing baby.
- 4. High levels of antioxidants in sunflower greens can aid in heart health, slow aging, and support cellular recovery. High levels of vitamins C, E, and selenium can even reduce high blood pressure and improve arterial health.
- 5. Sunflower greens are packed with nutrition and have very low calories, so they are a perfect food for those who want to lose weight.
- 6. Sunflower greens contain lecithin which help to break down fatty acids in the body.
- 7. They also contain vitamins A, D, and E as well as important minerals including calcium, copper, iron, phosphorous, magnesium and potassium.
- 8. Eating sunflower seeds or greens helps to boost your reproductive health by providing the body with ample zinc. Zinc also works with over 300 enzymes in the body to keep things running smoothly.
- 9. Sunflower greens are incredible for boosting immunity. Leafy green sprouts, especially those of the sunflower variety are essential to creating innate lymphoid cells (ILC) important immunity-boosting cells found in the lining of the digestive system that help to keep our gut bacteria healthy. Many people realize by now that gut health is the primary form of fighting disease and foreign invaders in the body.
- 10. Sunflower sprouts are full of essential fatty acids that are needed to make a plant burst out of its seed shell. Start sprouting to receive up to 900% more nutrition from your food.
- 11. All sprouts, including sunflower sprouts are full of chlorophyll – the same substance which makes plants turn green. In human beings, this one constituent keeps our blood healthy, reduces inflammation, calms the nervous system, revitalizes tissues, and balances pH levels in the body.
=========================================
Allow me to show you, step-by-step, just how incredibly easy it is to grow your own sunflower greens?
@rawlivingandlearning.BlogSpot.comLet's begin with a list of supplies you will need to sprout 3, 10 x 10 trays :
Jars
Seeds
Organic soil
Measuring cup
Screen mesh
Rubber bands
Dish drying rack (Bed Bath & Beyond)
6 Growing trays (I found mine at gotsprouts.com)
Sprouting rack (optional, but nice)
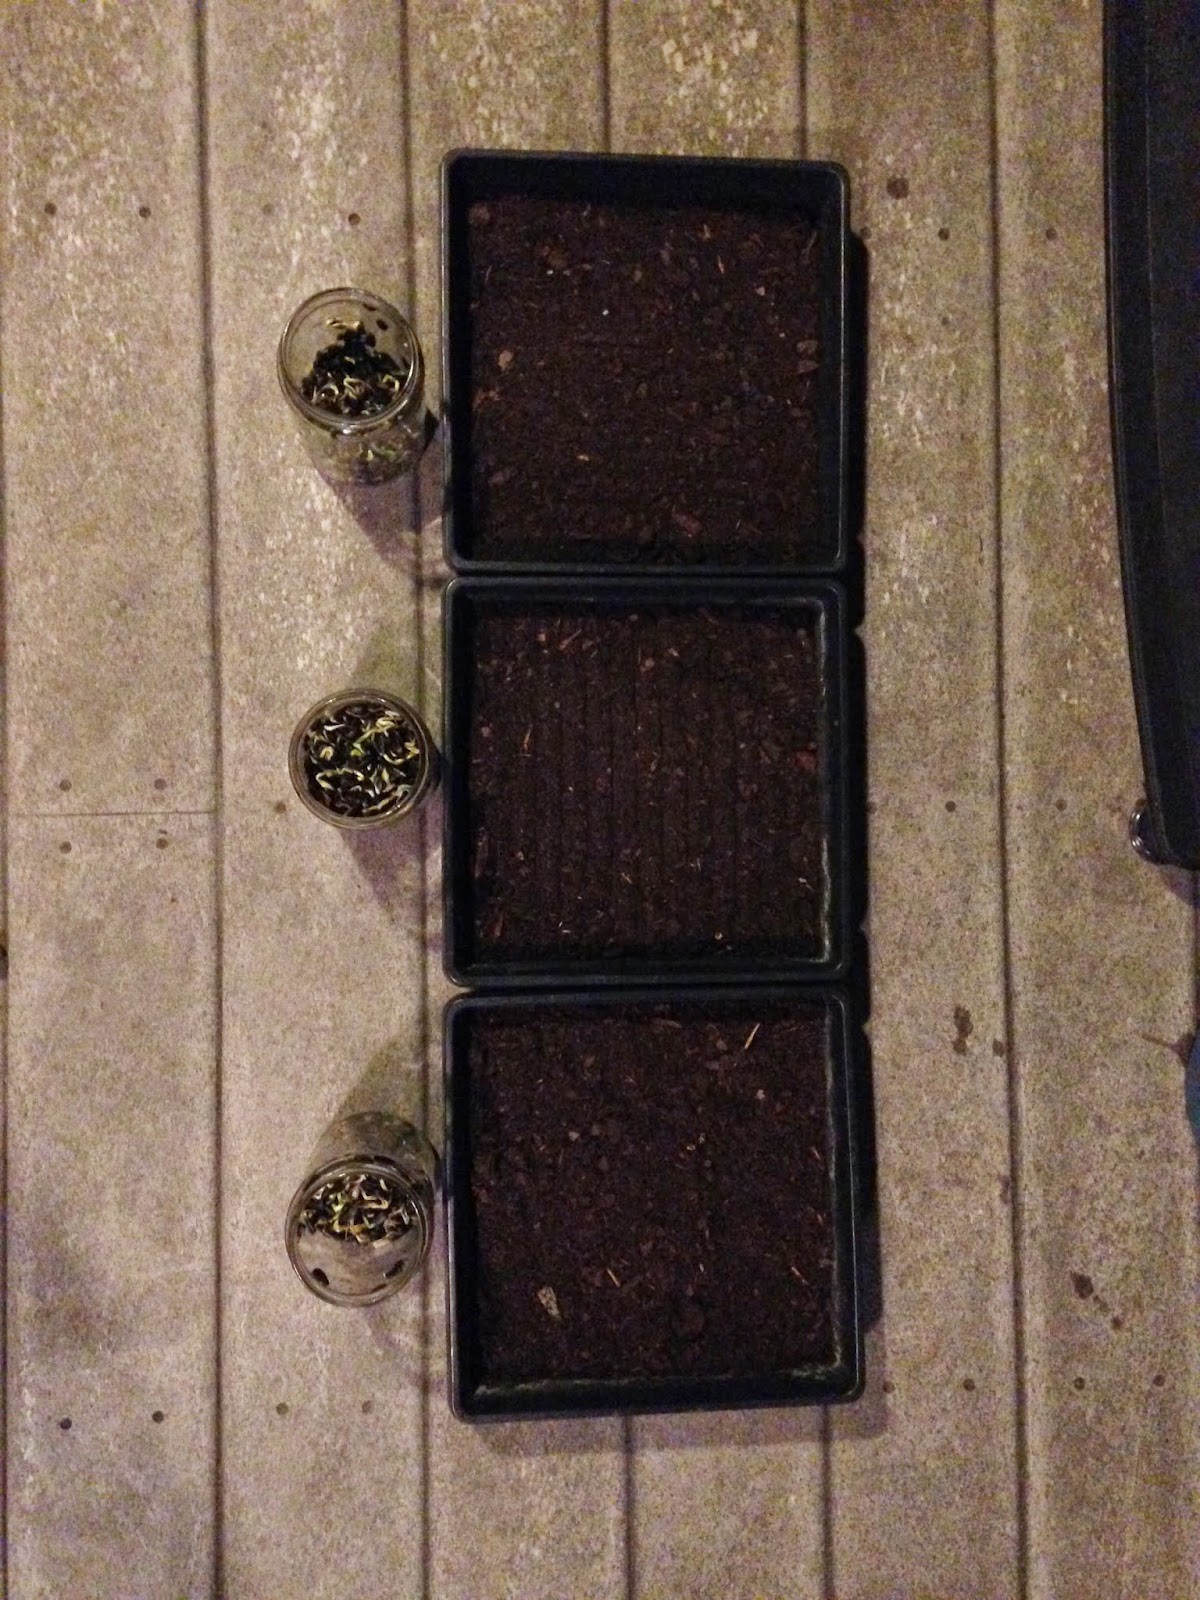
I. The first thing you need are some sprouting jars and seeds. As you can see in this photo I use food jars that I recycled for this purpose. As far as the seeds, I use the variety easily found in the bulk section of our local Whole Food's store. They are raw, unsalted, whole sunflower seeds.


II. Measure about 1 1/2 cups of seeds per jar. I use 3 jars because I sprout 3 trays at a time. Pour the seeds into each jar.


III. Fill the jars with fresh water and stir well.


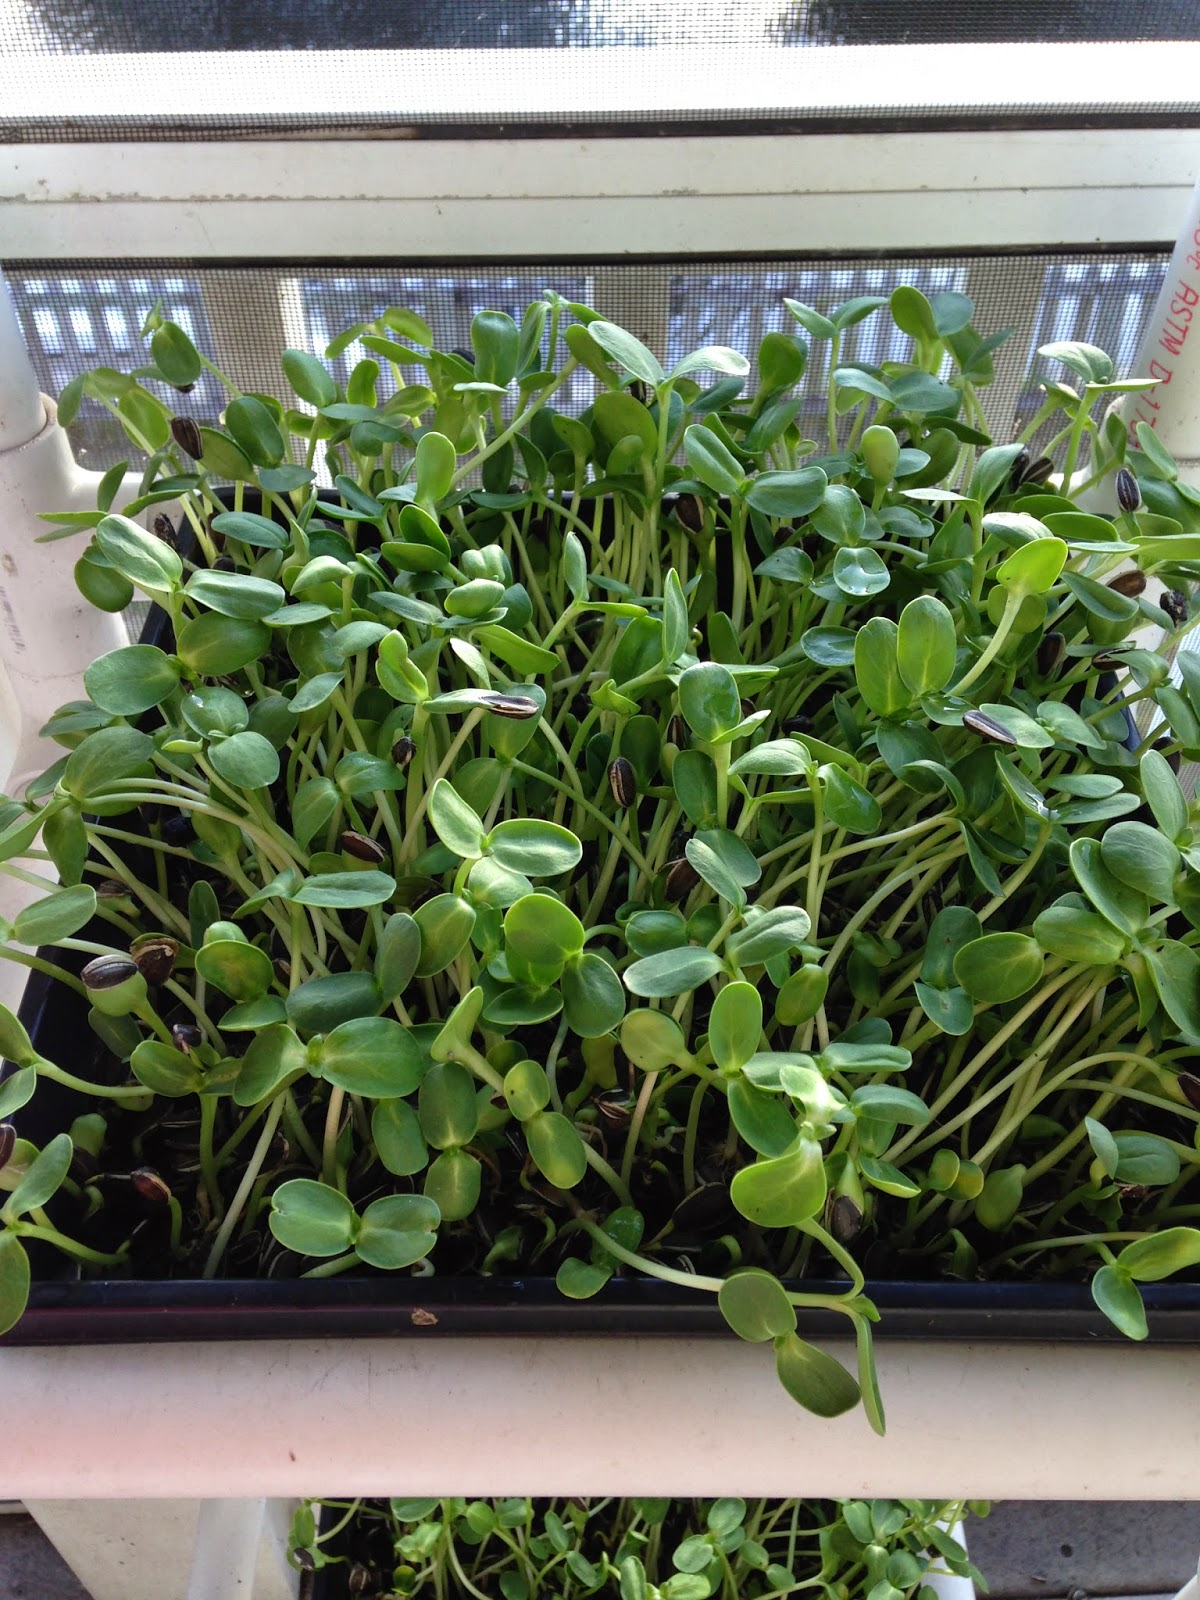
It's time to harvest your greens when they look like this:
XI. To harvest your greens simply use a pair of clean, sharp scissors and cut them as close to the dirt as possible so you get nice long stems remaining on your sunflower greens. Place them in a colander and rinse well with fresh water. Then lay them out on a thick kitchen towel and allow them to air dry a bit before placing them in the refrigerator. I lightly wrap them in paper towels and store them in the refrigerator one of two ways; in a green vegetable box or in a produce baggie. They will stay fresh for at least 7 days if stored properly.


There are many ways to enjoy these delicious and nutritious microgreens in your daily diet. See my blog posts and my InstaGram account (@lowfatrawvegan) for all the different ways I incorporate these beautiful greens into smoothies, juices, salads, dressings, and many other fantastic recipes. Enjoy and Get Sprouting!!!!
+JMJ+Today I am grateful for the ability to grow amazing sprouts and microgreens of all kinds.


Comments
Sherri @livegoodhealth
Peace & Raw Health,
Elizabeth